Album - Atari RoadBlasters Restoration
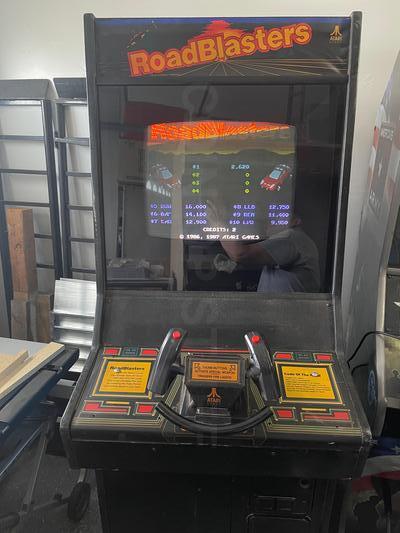
Atari Road Blasters bottom replacement, corner repair, and extra hole removal. Replaced control panel with a donor that did not have extra holes.
Well, I did not want to go down this path, BUT I'm gonna do a full restoration on this game. The below are the updates.
I tried out a new airless, cordless paint sprayer I found on TikTok. It worked, but took a bit to get used to, and Oops too my over-spray on my white house (washed off luckily).
The control panel has been fully restored with new art, buttons, and NOS handles. All metals have been black powder coated. The foot pedal has been fully rebuilt and powder coated, new grip tape and a new potentiometer have been added.
New custom side art from Escape Pod Graphics was applied and looks amazing. A new marquee from Escape Pod Graphics was installed.
I'm gonna call this done! Couple final touches and adjustments here and there and I forgot to powder coat a few items (so these will be sent out ASAP).
Back to the actual Game Here


